
 Documentation-based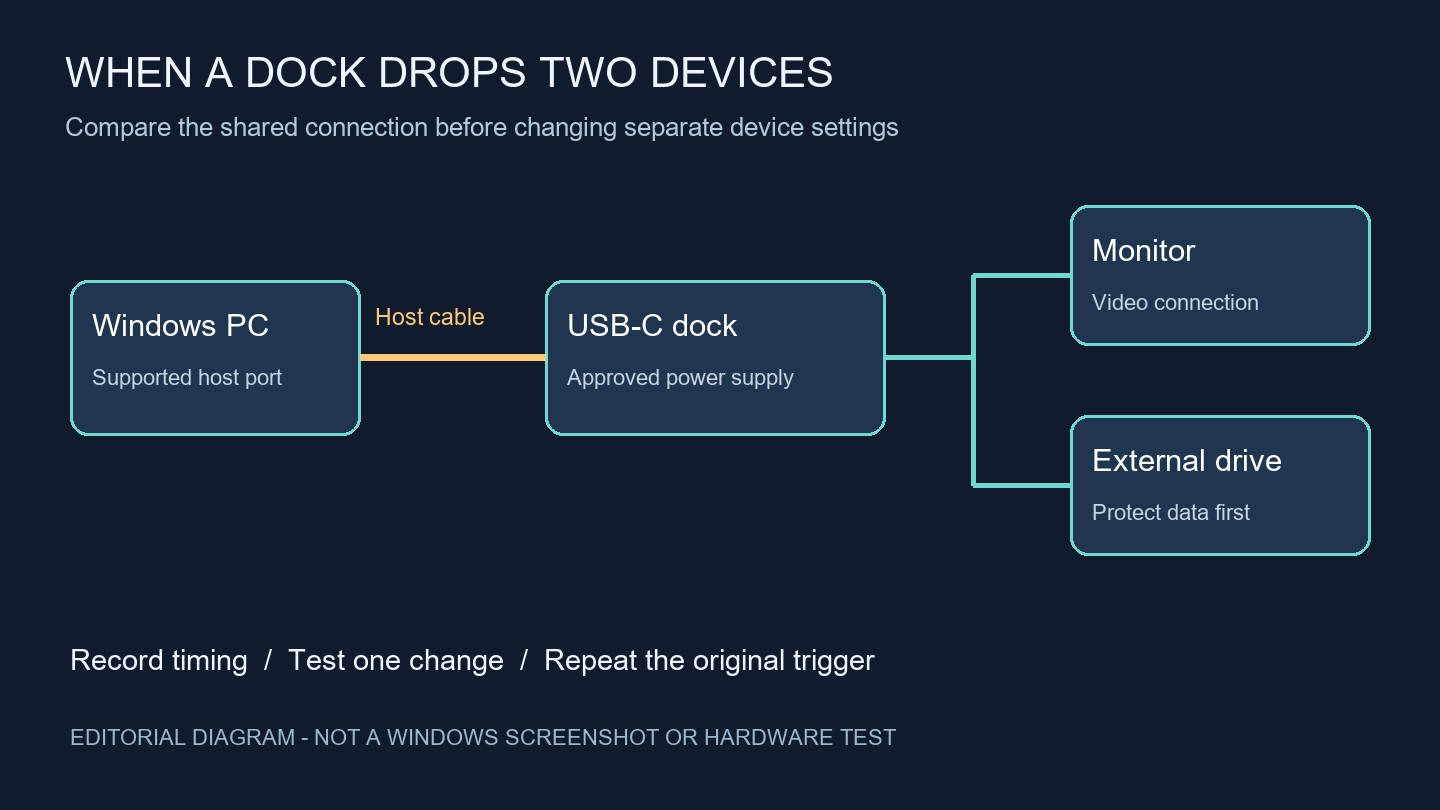
Microsoft and Dell documentation reviewed October 3, 2026 with AI assistance. No physical dock, power, cable, storage, or display test was performed. The comparisons are editorial guidance. Alex Reed is an established pen name.
If a USB-C dock drops an external drive at the same time that its monitors go black, start by checking the connection shared by those devices: the dock's power supply and its connection to the PC. Stop any file transfer before reconnecting the dock. If only a monitor goes black while the drive stays accessible, keep the display path separate from the USB-storage investigation.
This guide covers Windows 11 and USB-C docks with external displays and storage. It was reviewed on October 3, 2026. The comparisons below are an editorial diagnostic method based on manufacturer documentation; we have not reproduced this fault on a physical dock. A virtual machine cannot validate dock power, cables, display bandwidth, or drive stability.
Record what disappears together
Keep the laptop's own display available while investigating. Note the dock and laptop models, the laptop port used, the power-adapter rating, the host cable, the monitor connections, and the exact time of a dropout. If Windows displays a USB-C warning, copy its wording before changing anything.
A Microsoft Q&A report from May 11, 2026 describes a dock losing external drives and two monitors, with an unrecognized device in Device Manager. That report establishes the symptom, not a confirmed cause or repair. The thread also contains an AI-generated answer; we do not use that answer as technical evidence.
Use these observations to choose the next comparison:
| What you observe | Next comparison | What the result can tell you |
|---|---|---|
| Drive and displays disappear in the same event | Check dock power and the host connection; then test a minimal dock setup | A common connection deserves attention, but timing alone does not identify a failed part |
| Only a display fails; storage remains connected | Check that display's input, video cable, and supported dock display configuration | The display branch may be separate from USB storage |
| Only one drive disconnects | Compare that drive through the dock and directly on the PC | The drive, its cable, its power, and its dock port remain candidates |
| The fault follows sleep or restart | Record which transition triggers it and repeat that transition after one change | A successful reconnect during an ordinary session does not establish that wake-up recovered |
Do not infer that every USB sound means the entire dock reset. Read the status of the affected device. Microsoft's USB-C troubleshooting page explains how to retrieve a Device Manager error code and distinguishes unrecognized-device, charging, and limited-functionality notifications.
Establish a minimal connection without risking stored files
Close applications using the external drive. Safely eject it when Windows permits, and leave it disconnected while checking display behavior. If a drive has already dropped during a write, preserve its contents and investigate any data error separately. Do not initialize, format, or repeatedly copy important files to provoke another failure.
Use the dock manufacturer's supplied or approved power adapter and host cable. Read the laptop's port specification and the dock's compatibility list. A USB-C connector does not by itself establish support for the display or Thunderbolt features a dock needs. Microsoft explicitly requires compatible PC, device, and cable capabilities for these modes.
For the first comparison, connect the dock directly to the appropriate laptop port, without an intermediate hub or extension, and attach one monitor. Leave other peripherals disconnected. Record whether the same original trigger still causes a dropout. A dock that works in this arrangement has passed only that reduced setup; it has not passed the original multi-device workload.
Then add the external drive while no important transfer is running. If practical, use a spare drive with disposable test data. Add the second monitor last. Return to the previous arrangement after a failure to see whether the changed condition matters. This order is our proposed isolation method, not a manufacturer-certified test or proof that the dock lacks power.
If a monitor can use a supported direct PC connection, compare it there. Likewise, compare the same drive and cable on a suitable PC USB port. Record any necessary cable or connector change: changing both the connection and the cable makes it harder to attribute the result. A direct connection that stays stable narrows the comparison to the dock path, including the host port, cable, power, and compatibility; it does not prove that the dock itself is defective.
Apply the reset procedure for your dock model
Use the exact model's instructions. For the Dell WD19 series, Dell's reset and update guidance specifies disconnecting the USB-C or Thunderbolt host cable, removing the dock's AC power, and holding its power button for 30 seconds. Reconnect AC power, check the indicated power-button LED response, and reconnect the host cable. Remove storage safely before this procedure.
That reset sequence is a WD19-series example. Other docks can require a different sequence, and a bus-powered hub may have no AC adapter or reset button. Keep the laptop on its own supported power supply when the dock cannot supply the laptop's required power.
The WD19 user guide separately discusses USB-port failures and video failures. It directs users to check connections and applicable drivers, try another USB port, and check video cables, selected monitor input, and supported resolutions. Its adapter specifications and display limits apply to that dock and host configuration; do not copy them to an unrelated model.
If the dropouts appear only after adding a second display, compare the exact resolution and refresh-rate combination with the manufacturer's display table. Reducing a display setting is a useful comparison when the setup exceeds its documented capability. It does not diagnose a drive disconnect or guarantee that the complete setup is stable.
Keep updates and security settings specific
Collect the current Windows version, laptop BIOS version, graphics and relevant USB or Thunderbolt driver versions, and dock firmware version. Use the laptop and dock manufacturers' pages for those exact models. Dell's WD19-series guidance covers Windows, system and dock drivers, and dock firmware, and requires the dock to be connected for its firmware update process.
Follow each updater's power and connection requirements. If the dock repeatedly loses its host connection, ask the vendor how to establish a stable update connection before attempting firmware installation. Avoid running several updaters together, and record which package changed before repeating the original fault condition.
This guide does not recommend disabling Thunderbolt security, uninstalling every USB controller, or changing all USB power-management settings. Those actions change more than the comparison needs and can disrupt other devices. A managed PC's BIOS and security settings belong with its IT administrator. If the only remaining issue is an unrecognized USB device, retain its exact device identity and code for that separate investigation. If the problem is confined to a USB-C monitor after boot, use the startup-specific comparison there.
Verify the original setup and prepare a useful support record
After one change, repeat the original event with the same permitted display configuration and peripherals. Include the same sleep or restart transition if that was the trigger. Check that the displays remain detected and that Windows can still read disposable files on the test drive. Record the observation interval and workload. A short successful session cannot establish that an intermittent fault has permanently disappeared.
Give the vendor a concise record: laptop and dock models; Windows build; host-port specification; adapter and cable details; display configuration; device error text; exact dropout time; direct-versus-dock results; and the package or connection changed. Remove serial numbers and account details from any public screenshot.
Stop the test if the drive repeatedly disconnects during writes, the connection is physically damaged, or a component smells burnt or becomes abnormally hot. Keep important storage off the unstable dock while the vendor investigates.
Sources were reviewed October 3, 2026. Recheck the model's compatibility, firmware notes, and instructions when the hardware or Windows version changes. The next routine page checks are October 4 and October 10; these check the published page, not the reader's hardware.
